The post How to Build Your Own Ecommerce Photography Studio: Step-by-Step Guide appeared first on Grasigner .
]]>So, what makes a buyer stop, look, and purchase a product? The answer is product photography.
High-quality product photos have the power to build trust, highlight details, and convince customers to make a purchase. That’s why many online sellers and photographers are investing in building their own eCommerce photography studio.
In this complete guide, we’ll explain step by step how you can build your own studio, no matter your budget or space.
Why is Ecommerce Photography So Important?
Before diving into the studio setup, let’s first understand why product photography is critical to eCommerce success.
- First impressions matter: Customers can’t touch or feel a product online. Photos are their only way to judge quality.
- Boosts trust and credibility: Clean, high-quality images make your brand look professional.
- Improves conversion rates: Better photos directly increase sales because customers feel more confident.
- Reduces returns: Accurate photos reduce misunderstandings and help buyers know exactly what they’re getting.
That’s why an eCommerce photography studio is not just “nice to have”—it’s a must-have for anyone serious about online sales.
What is an Ecommerce Photography Studio?
An eCommerce photography studio is a dedicated space designed for capturing professional product photos. It is different from an online store—this is the physical setup where photos are taken before they are uploaded online.
There are two main types of studios:
- Portable Studio – Small, foldable, and easy to set up anywhere. Ideal for photographers with limited space or those who work on the go.
- Fixed Studio – A permanent studio setup in a dedicated location. Perfect for long-term business growth.
Both options can deliver excellent results depending on your needs and budget.
Step-by-Step Guide to Build an Ecommerce Photography Studio
Let’s go step by step to make your studio setup smooth and professional.
Step 1: Plan Your Studio Layout
Before buying equipment, think about the overall design of your studio. Planning saves money and improves workflow.
Ask yourself:
- What kind of products will I shoot—small (jewellery, watches), medium (shoes, handbags), or large (furniture, appliances)?
- How much space do I have?
- Where will I place my lights, backdrops, and tripod?
- Do I need a waiting area or client meeting space?
- Will I use natural lighting, studio lighting, or both?
 Pro Tip: Sketch your layout on paper before setting up. This helps you visualise where everything should go.
Step 2: Set Your Budget
Once your layout is planned, the next step is to calculate the cost. You may already have a reasonable budget in place. If your budget allows, you can customise the entire space to match your needs. If not, choose smart, cost-saving options that keep your workflow efficient without major changes.
For example:
- Invest first in essential equipment and required furniture.
- Instead of painting the studio walls, use a portable backdrop in the shooting area.
- If space is limited, schedule one client at a time rather than managing multiple clients simultaneously.
- Delay purchasing non-essential décor items, such as indoor plants, that do not directly support your photoshoot work.
List all these expenses carefully and calculate the total. This process will help you set a realistic budget and understand your actual studio setup cost.
Step 3: Organize Your Workspace
At this stage, you should already have your essential equipment, furniture, and tools in place. Now it’s time to optimize your studio space for better workflow and efficiency.
Start by deciding how you will use the space. Identify areas for:
- Photoshoot room
- Post-production room
- Meeting room
- Waiting area
If you have separate rooms, that’s ideal. If not, you can use partition walls or dividers to create functional zones within the same space.
Next comes decoration and setup. Each area should include only the equipment and furniture needed for its purpose. The reference image below shows how to plan equipment placement (you can adjust it to your needs).
Source: Pinterest
No matter how you design the space, keep it clean and uncluttered. An organized studio improves focus, supports smooth work, and creates a professional environment for both you and your clients.
Step 4: Invest in the Right Gear
When it comes to photography gear, the cost can add up quickly. Commercial product photography equipment is often expensive, but quality tools are essential for professional results.
You may consider buying pre-owned gear at times. While this can help reduce initial costs, it should not be a long-term solution. A common saying applies here: equipment works best in the hands of its owner. When you own your gear, you understand its features, limitations, and performance, which makes your workflow faster and more reliable.
Photography gear includes many items. Below are the essential tools you should have before starting professional product photography.
I. Camera
Choosing the right camera for ecommerce product photography requires careful consideration. Before purchasing, evaluate the following points:
- Is it a recent or updated model?
- Does it deliver high image quality?
- Are the specifications suitable for product photography?
- Do the features match your shooting needs?
- Are compatible lenses easily available?
- Is the camera comfortable to hold and use?
- Does it fit within your budget?
Once these points align, read reviews and consult professionals to make a confident decision.
II. Lens
Selecting the right lens is just as important as choosing the camera. Your lens should be fully compatible with your camera and support your shooting style. Many camera brands offer recommended lens options, which can make the selection process easier.
When choosing a camera lens, consider the following factors:
- Size and dimension
- Focal length (fixed or zoom)
- Maximum aperture
- Field of view
- Autofocus speed
- Crop sensor or full-frame compatibility
- Image quality
- Magnification capability
- Price
These factors are especially helpful for first-time lens buyers.
III. Tripod
A tripod eliminates camera shake and motion blur, ensuring sharp and balanced images. Ecommerce product photography often requires consistent framing from a fixed position, especially for hero images on platforms like Amazon or eBay.
A tripod also allows you to shoot in low-light and long-exposure settings while maintaining stability. It creates a controlled and steady shooting environment.
IV. Cards and Batteries
Essential cards include gray cards, memory cards, SD cards, and CF cards. Always keep backups, as storage cards are small but critical. A faulty card can disrupt or ruin an entire photoshoot.
Store cards safely so they remain portable and protected. In addition, keep extra rechargeable batteries on hand. Battery failure during a shoot is common and easily avoidable with proper preparation.
V. Camera Cleaning Kits
Photography equipment is sensitive and easily collects dust and dirt. Poor maintenance can affect performance and cause long-term damage. Regular cleaning is essential to protect your camera body and lenses.
Camera cleaning kits are widely available online, including on platforms like Amazon. Having the right tools makes cleaning simple and stress-free whenever needed.
Step 5: Set Up Backdrops

You need studio backdrops for every photography session. A quality backdrop plays a major role in enhancing the final image, helping the product stand out clearly. For this reason, it is recommended to have multiple backdrop options instead of relying on just one.
Today, photography backdrops are widely available through eCommerce stores and local photography shops, making it easy to find attractive and suitable options for different shooting needs.
There are many types of backdrops available. Some of the most commonly used studio backdrops include:
- Fabric
- Canvas
- Chroma key
- Collapsible
- Floor drops
Use a background stand to hang the backdrop in your shooting area, and your setup will be ready for product photography.
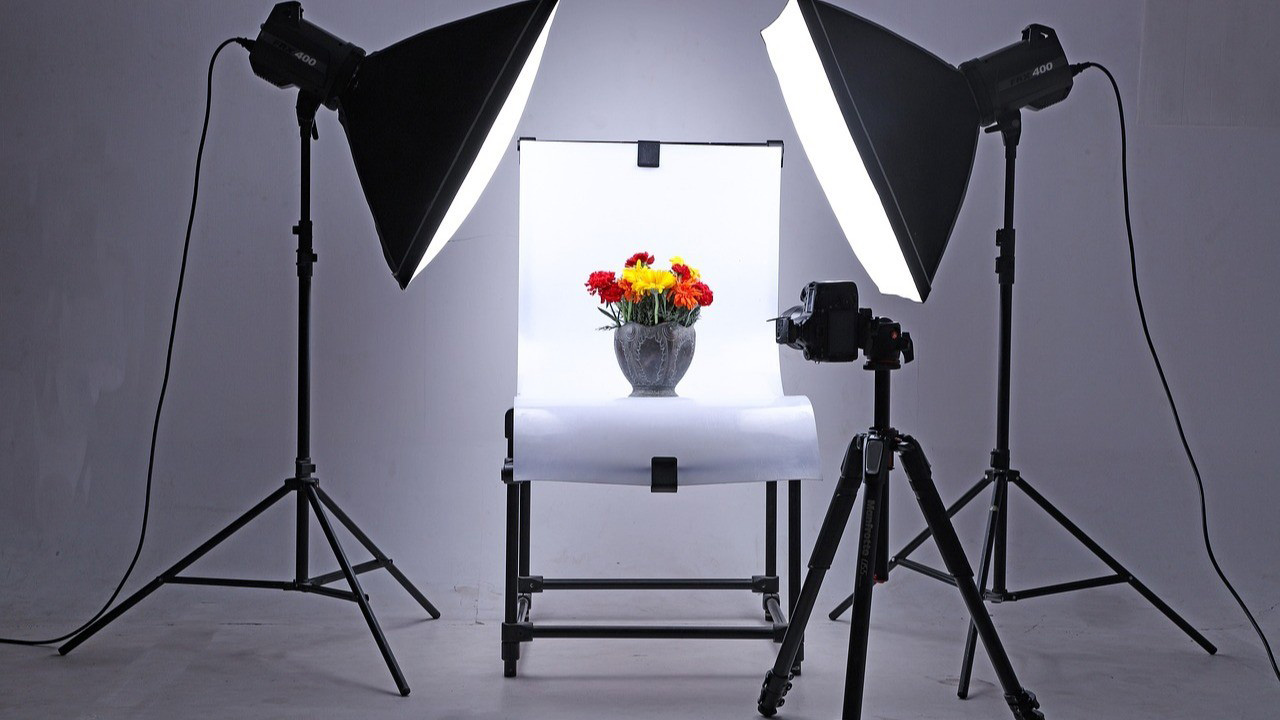
Step 6: Install Lighting Equipment
Lighting plays a critical role in photography and is essential for achieving commercial-quality results. Proper lighting highlights a product’s appearance, shape, texture, and size while delivering a clear visual message. Always ensure there is enough light reaching your photography setup.
There are two main types of light sources:
- Natural light
- Artificial light
Natural Light
Sunlight is the most powerful and cost-free lighting source available. You can use it effectively for product photography, especially during soft daylight hours. Avoid shooting when the sunlight is too harsh, as it can create strong shadows and uneven exposure. Aside from that, natural light allows you to shoot comfortably throughout the day.
However, natural light is inconsistent and unavailable at night. This limitation makes artificial lighting necessary for professional work.
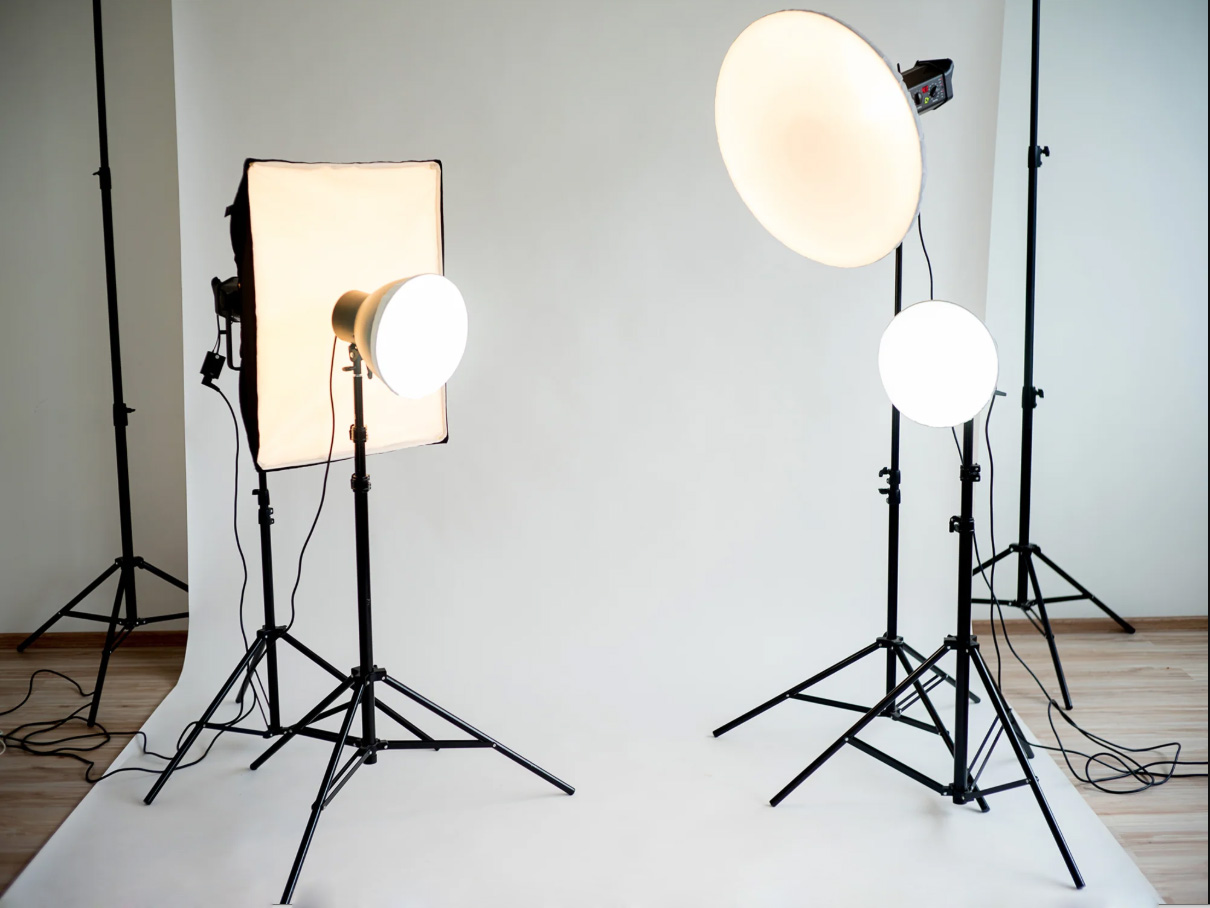
Artificial Light
There are many studio lighting options designed for product photography. To properly light a studio, photographers commonly use the following tools:
- Strobe light: Produces short, powerful flashes of light
- Fluorescent light: Helps illuminate larger areas evenly
- LED light: Provides continuous and adjustable lighting
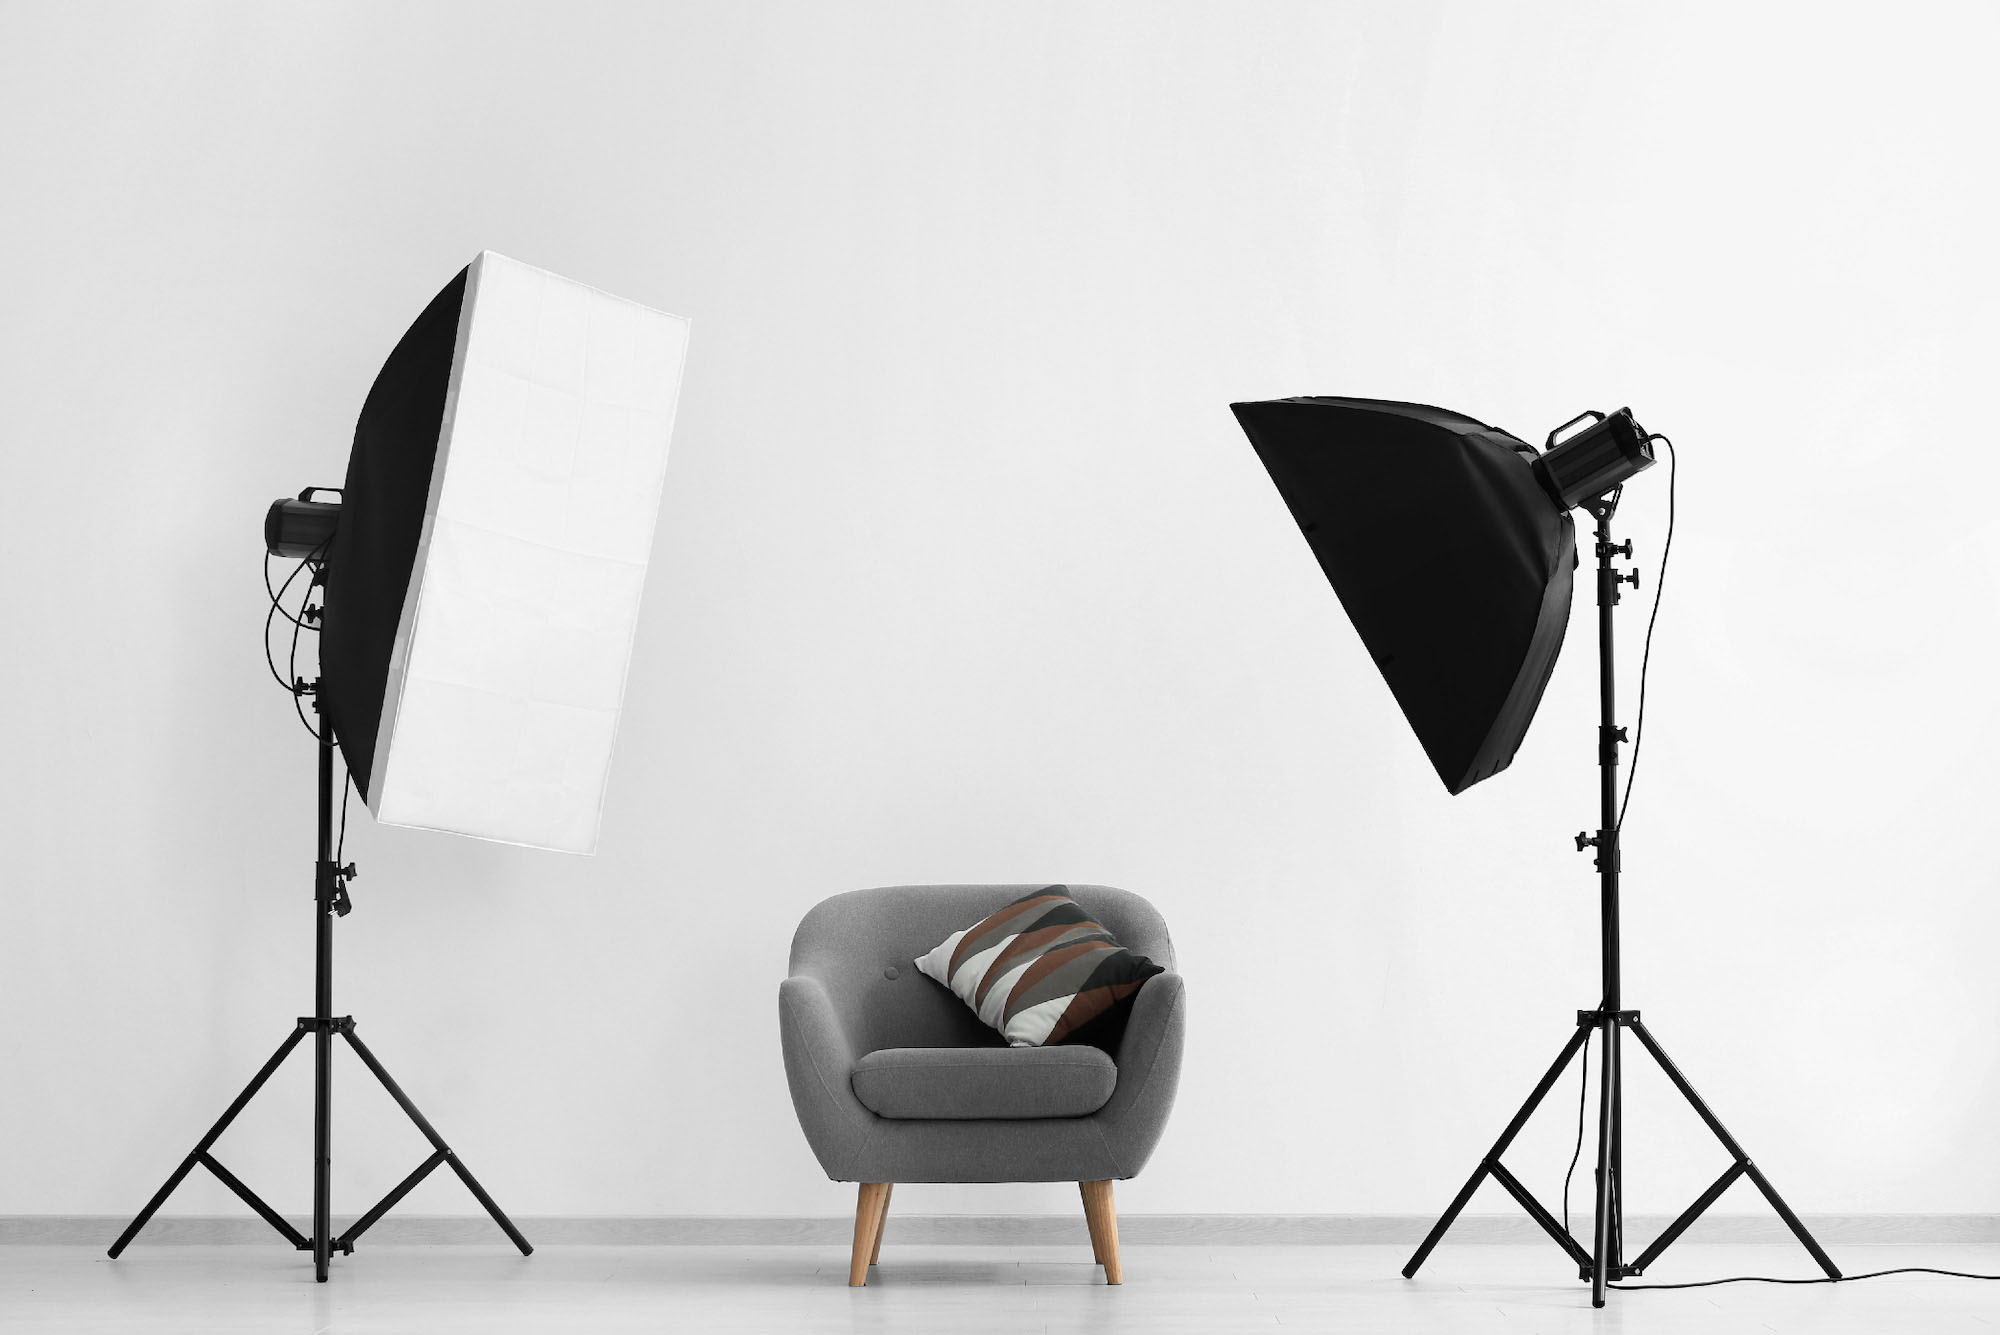
- Softboxes: Available in square, rectangular, or octagonal shapes for soft light
- Light modifiers: Accessories like umbrellas and diffusers that control light direction
- Reflectors: Bounce light to brighten shadowed areas
Using the right lighting setup ensures clear, consistent, and professional product images for ecommerce and commercial use.
How to Make Your Studio Brighter
The most effective solution is using the three-point lighting technique.
Three-point lighting uses three separate light sources placed at different angles to evenly light the subject, as shown in the example below. This method is widely used in commercial photography to reduce harsh shadows and prevent uneven lighting.
i. Key Light
The key light is the primary light source in any setup. It provides the main illumination and lights up most of the subject. This light is essential and cannot be skipped. All other lights support the key light to achieve balanced, professional results.
ii. Fill Light
The fill light works alongside the key light to soften shadows and reduce contrast. It brightens darker areas without removing all shadows. For a natural look, the fill light should be slightly less intense than the key light.
iii. Back Light
The backlight, also known as a rim light or a hair light, is placed behind the subject. It separates the subject from the background, adding depth. This light is especially useful for larger products or subjects placed away from the background, preventing the back side from looking dark.
Step 7: Use a Tabletop Studio Kit
For small products like watches, jewelry, or cosmetics, a tabletop kit is a smart choice. These kits include a light tent and built-in lighting, allowing you to capture clear and shadow-free images even in small spaces.
Step 8: Choose the Right Editing Software
Unless clients specifically request them, you should not deliver raw, unprocessed images. Even light photo editing can significantly improve a photo’s overall look and quality. Many photographers specialize in using professional photo editing tools to enhance their images.
If you plan to edit photos yourself, choose industry-standard software such as Adobe Lightroom or Photoshop. While handling editing in-house may seem like a smart choice at first, it can add to the workload for photographers with busy schedules.
For this reason, many professionals outsource photo editing services to reduce costs and save valuable time.
To achieve premium-quality, creative results, hiring a reliable clipping path service provider is highly recommended.
Additional Tips for Building a Successful Studio
1. Practice and Experiment
Don’t expect perfection on day one. Keep experimenting with lighting, angles, and backdrops until you find what works best.
2. Stay Organized
Label your equipment, keep cables tidy, and create a system for storing photos. A professional workflow saves time and impresses clients.
3. Offer Multiple Services
Don’t just stop at product photography. Offer related services like:
- Lifestyle product shoots
- 360-degree photography
- Product videos
- Post-production editing
This makes your studio more valuable to clients.
4. Keep Learning
The world of photography is always evolving. Stay up to date on new techniques, tools, and trends to stay ahead of competitors.
Final Thoughts
An eCommerce photography studio is more than a workspace—it’s a strategic asset that shapes how customers perceive your brand. When your setup, lighting, and workflow align with professional standards, every image tells a clear, confident story about your product. You don’t need a massive budget or a large space to succeed; what matters most is thoughtful planning, consistent quality, and a commitment to improvement. As eCommerce continues to grow, a well-built photography studio will help you stand out, build trust, and turn product views into real sales.
With dedication and consistency, your studio can become a trusted name in the eCommerce industry. Every effort you put in takes you one step closer to success.
The post How to Build Your Own Ecommerce Photography Studio: Step-by-Step Guide appeared first on Grasigner .
]]>