Ecommerce product photography refers to capturing images of items sold through online platforms. In today’s digital marketplace, virtually every product is available online, making it easier than ever for consumers to compare and switch brands. This increased competition has made high-quality product imagery essential for eCommerce businesses seeking to attract and convert customers.
Product photos are often the first impression shoppers have, and compelling visuals can significantly influence purchasing decisions. That’s why professional eCommerce photography plays a vital role in brand success.
To meet growing client expectations, photographers must deliver precise, visually engaging images. A dedicated eCommerce photography studio is the ideal environment for achieving this.
Building your own studio requires strategic planning, including factors such as layout, budget, space allocation, and design. Studios can vary in size depending on the type of products they produce. This article will cover a studio setup that can be customized for studios of all sizes.
Let’s start:
What is an Ecommerce Photography Studio?
E-commerce product photography studio is called an e-commerce photography studio in short. However, we need to remember that it is very different from an e-commerce product store. The former is an online store.
The latter, an eCommerce photo studio, is a dedicated workspace where professional or freelance photographers for payment to capture high-quality product images that support a client’s promotional, marketing, and sales strategies.
Which Is Better for Product Photoshoot? Portable Studio or Fixed Studio
By now, you’ve likely identified the studio setup that best aligns with your photography goals. However, an important decision still remains: should your studio be portable or set up in a permanent location?
Several key factors come into play when making this choice. Rather than outlining each one in detail, I’ll illustrate the differences more clearly through a comparison table.
How to Build an Ecommerce Product Photography Studio? Step-by-Step Guide:
E-Commerce product photography has become a rapidly growing industry, driven by the increasing need for high-quality visuals in online retail. In today’s digital marketplace, compelling product images not only capture consumer attention but also play a critical role in boosting sales.
To meet rising demand and stay competitive, many entrepreneurs are launching studios and hiring skilled photographers. While seasoned professionals are leveraging their expertise to lead in this space.
If you belong to either group and are ready to establish your own eCommerce product photography studio, you’re in the right place. Let’s take the next step.
Photography Studio Layout Plan
Once you’ve secured a space for your product photography studio, the next step is to thoughtfully plan the studio layout. While the design may vary depending on your specific photography niche. So, there are a few essential elements that should always be included:
- How to decorate the interior studio room?
- Which type of product photoshoot focuses do you do? Is it small, medium, or large in size?
- Which of the following equipment is mainly used for your product photoshoot?
- How much space should be between your equipment? If not, what alternatives are there?
- What is considered in the placement of equipment?
- How do you plan on product shooting? Is it for a specific time or for whenever your clients want?
Gaining clarity on these answers will enable you to envision a practical and effective layout for your studio.
Define Your Cost to Start
Now that you have the layout in place, it’s time to assess the costs. If your budget allows for flexibility, you can customize the studio to your exact needs. However, if your resources are more limited, there are cost-effective alternatives that can still achieve your goals without compromising functionality. These solutions will allow you to maintain a practical workspace while staying within your budget.
- You invest in essential equipment and necessary furnishings for your studio.
- Instead of painting the walls, opt for a backdrop in the area designated for shooting to maintain a clean environment.
- If space is limited, prioritize serving one client at a time to ensure a focused and efficient experience.
- For the time being, you can stop buying things that aren’t directly related to your photoshoot works, such as tree plants for room decor.
- For now, consider holding off on purchases that don’t directly contribute to your photography work. Such as tree plants for room decor.
Optimize Your Workspace
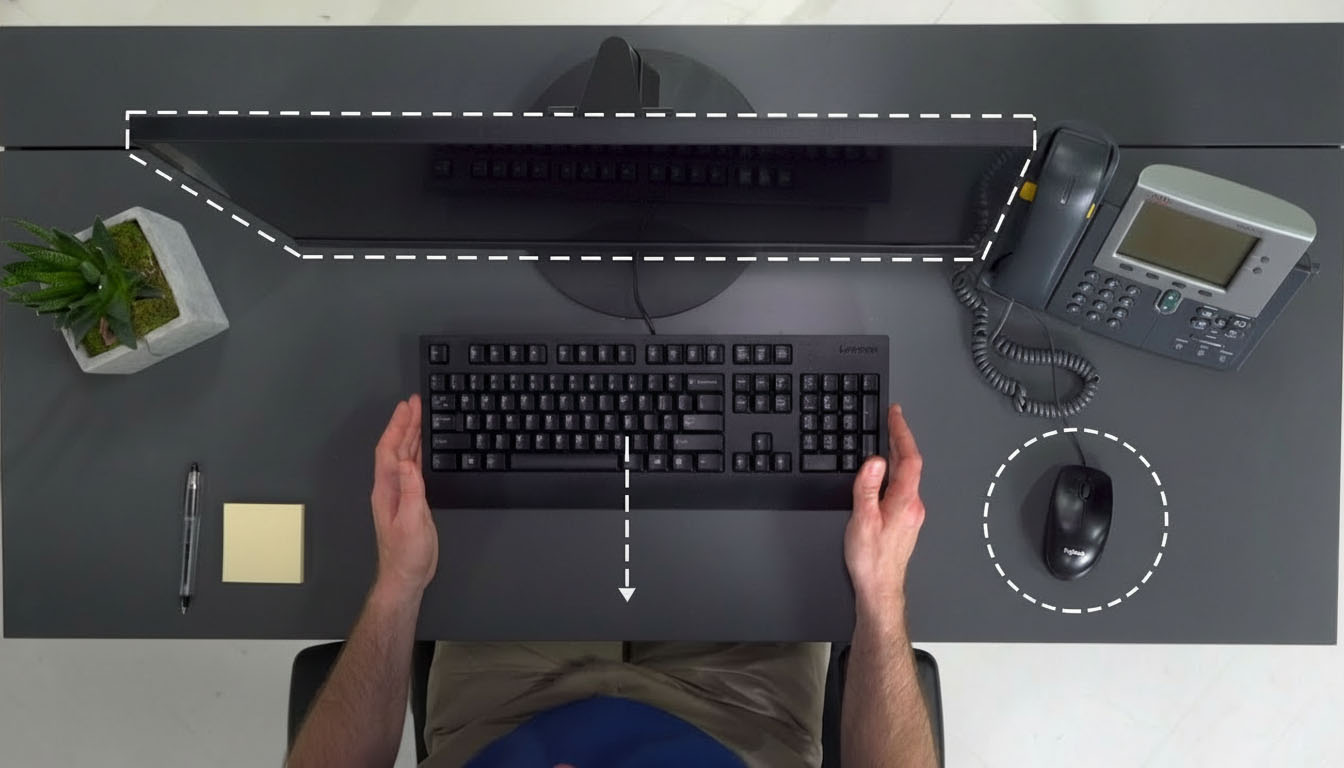
At this point, you likely have all the essential equipment, furniture, and tools ready. With everything in place, it’s time to focus on optimizing your space for maximum efficiency and functionality.
First, consider which is going to be your-
- Waiting Room
- Meeting Room
- Photoshoot Room
- Post-production Room
If you have access to separate rooms, that’s ideal. However, if not, you can consider using partition walls to divide it.
Next comes the stage of decoration. Each room should be thoughtfully furnished with the essential equipment and furniture. Refer to the image below as a guide for placement though feel free to adapt it to suit your specific needs and workflow.
Source: Pinterest
Regardless of your chosen decor style, it’s important to maintain a clean, uncluttered environment. A well-organized space not only enhances visual appeal but also promotes focus and a more peaceful, productive workflow.
Purchase the Perfect Gears
When it comes to gear, there’s no denying that commercial product photography equipment can be a significant investment. High-quality tools often come with a high price tag, reflecting their performance and durability.
While purchasing pre-owned equipment can be a cost-effective short-term option, it’s rarely a long-term solution. I’m reminded of a saying I once heard: ‘Equipment performs best in the hands of its original owner.’ The idea is simple familiarity breeds efficiency. So it’s easier for him to use his own equipment or tools for work.
Photography equipment encompasses a wide range of tools. Below are the key items you’ll need to ensure a smooth and effective workflow:
1. Camera
You must be picky while choosing the best camera for product photography for ecommerce. Consider these following matters when you are going to buy a camera-
Is it the latest model?
What are the specifications?
Is the image quality sound enough?
Are the functionalities perfect for you?
Is it proportionate to your hand?
Are there lenses available for it?
Is it around your budget?
If everything goes well, check reviews and ask professionals to decide the one you are looking for.
2. Lens
Selecting the right camera lenses is crucial. They must not only be compatible with your camera body but also enhance your specific shooting needs. Fortunately, many camera brands offer curated lens selections to their systems, making it easier to identify suitable options right from the start.
Understanding how to choose the right lens can feel overwhelming. To simplify the process, here are some key factors to consider when selecting a camera lens that best suits your needs:
- Dimension
- Focal Length: Fixed or zoom enabled
- Maximum Aperture
- Speed of Focus
- Field of View
- Image quality
- Crop or Full frame
- Magnification
- Price etc.
3. Tripod
A tripod plays a vital role in eliminating camera shake and motion blur. In eCommerce product photography where uniformity is key, especially for hero images on platforms like Amazon and eBay maintaining a fixed shooting position and consistent framing is essential.
Moreover, a tripod helps create a stable environment, which is critical. It also enables long exposure shots and low-light photography with greater precision and control.
4. Cards and Batteries
Be sure to have all essential cards on hand such as grey cards, memory cards, SD cards, and CF cards along with adequate backups. Choosing the correct type and ensuring their reliability is vital, as even a minor malfunction can disrupt your entire setup. Store them securely and accessible to ensure quick portability when needed.
Additionally, always keep a set of fully charged, rechargeable batteries available. Running out of power mid-shoot is a common issue.
5. Camera Cleaning Kits
Photography gear is delicate and easily collects dust, which can cause long-term damage if neglected. Keeping it clean is essential, but how do you properly care for your camera lens and body?
Don’t worry, there’s no need to panic. Platforms like Amazon offer a wide range of cleaning products specifically designed for camera gear. Take a moment whenever you require the right tools for the job.
Choose Image Quality
Familiarize yourself with the various image quality settings available on your camera to choose the one that best aligns with your specific needs, and ensure consistency in your selections.
If there’s a possibility that the images will be used across multiple media formats, rather than just online, consider setting your camera to “RAW.” This will capture the largest, highest-quality files, providing greater flexibility and detail for post-production.
Setting up the Perfect Backdrop
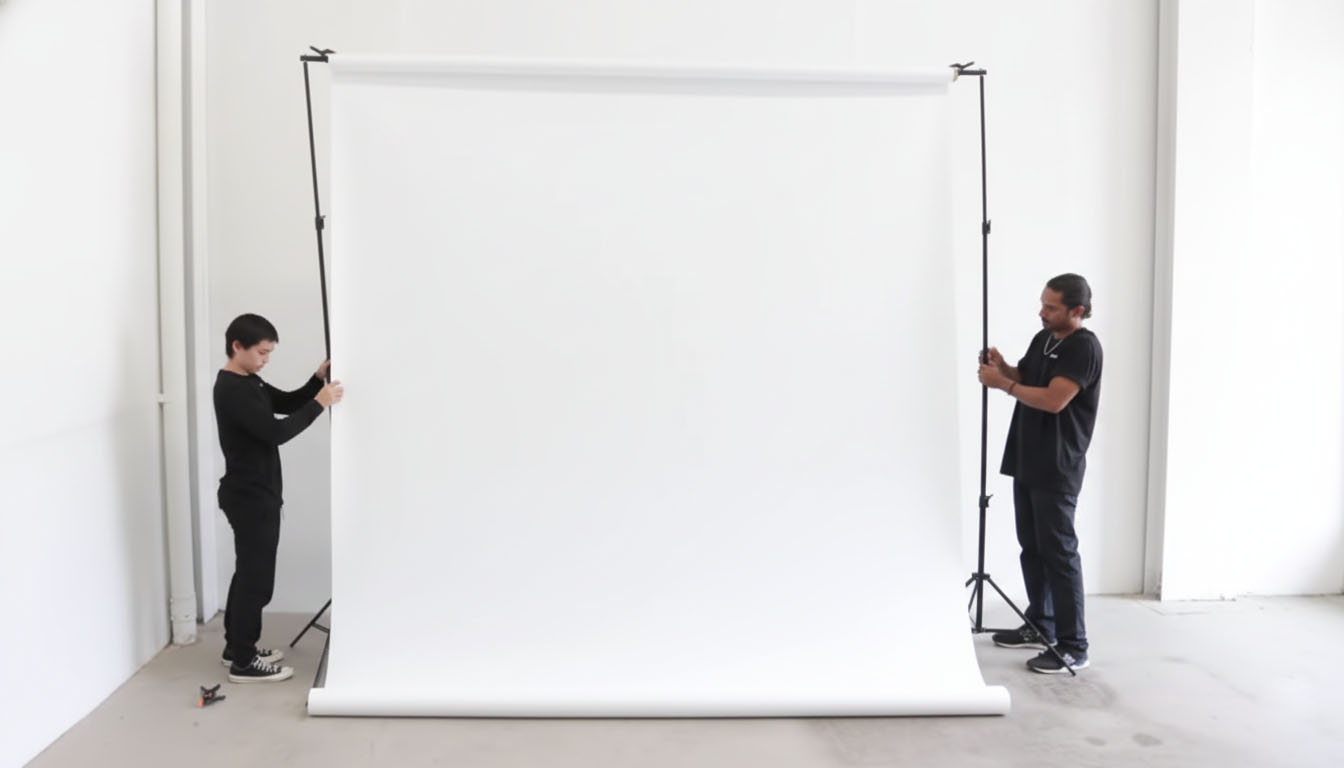
For a successful photography session, selecting the right studio backdrop is essential. A well-chosen backdrop can elevate the visual impact of your images. So,you are advisable to invest in a variety of backdrops rather than relying on just one.
Today, backdrops are easily accessible through online marketplaces and local retailers. So that you can make it simple to find a range of eye-catchy.
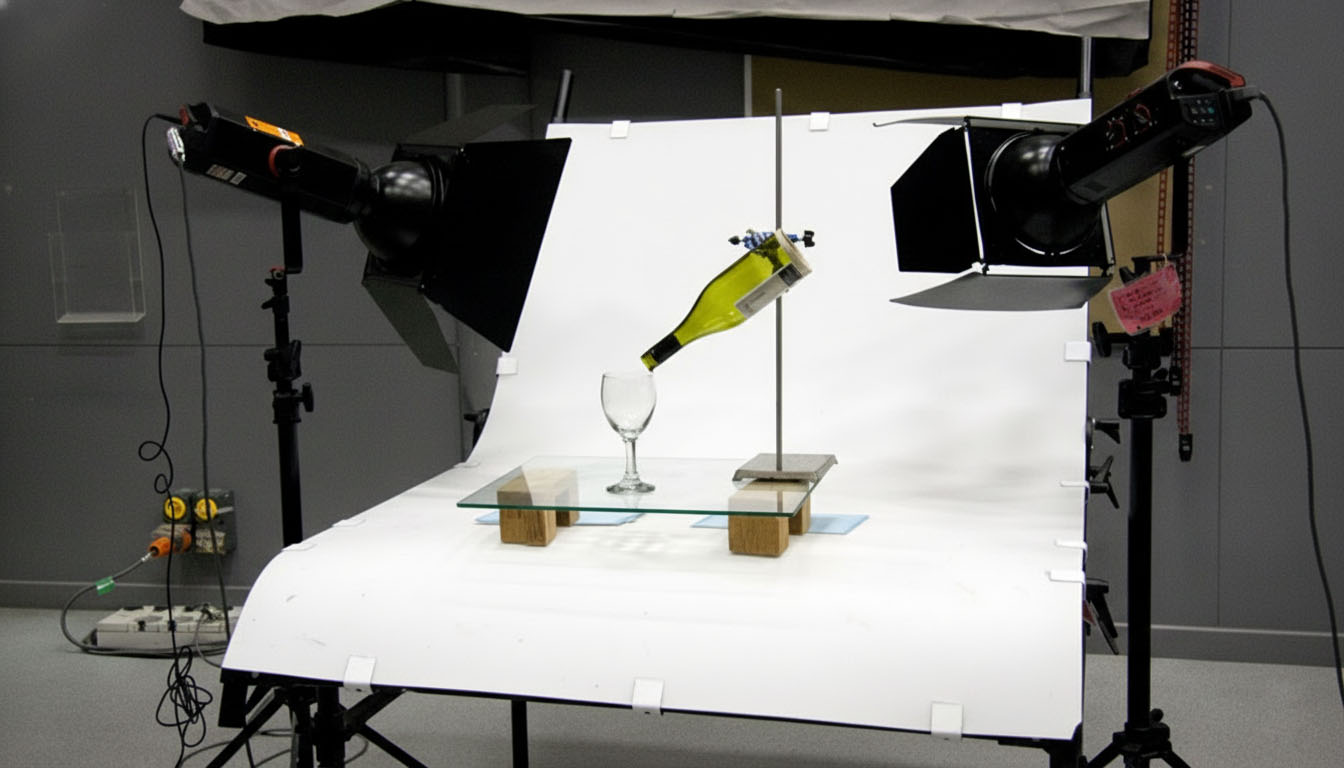
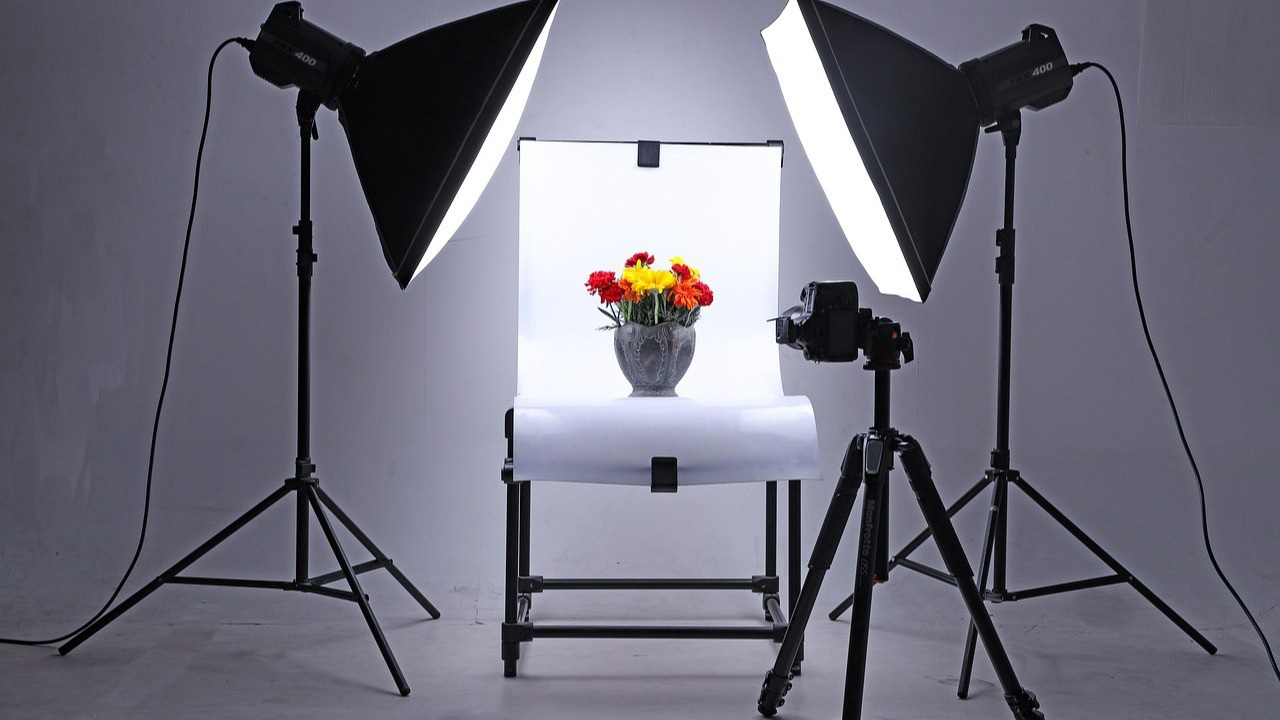
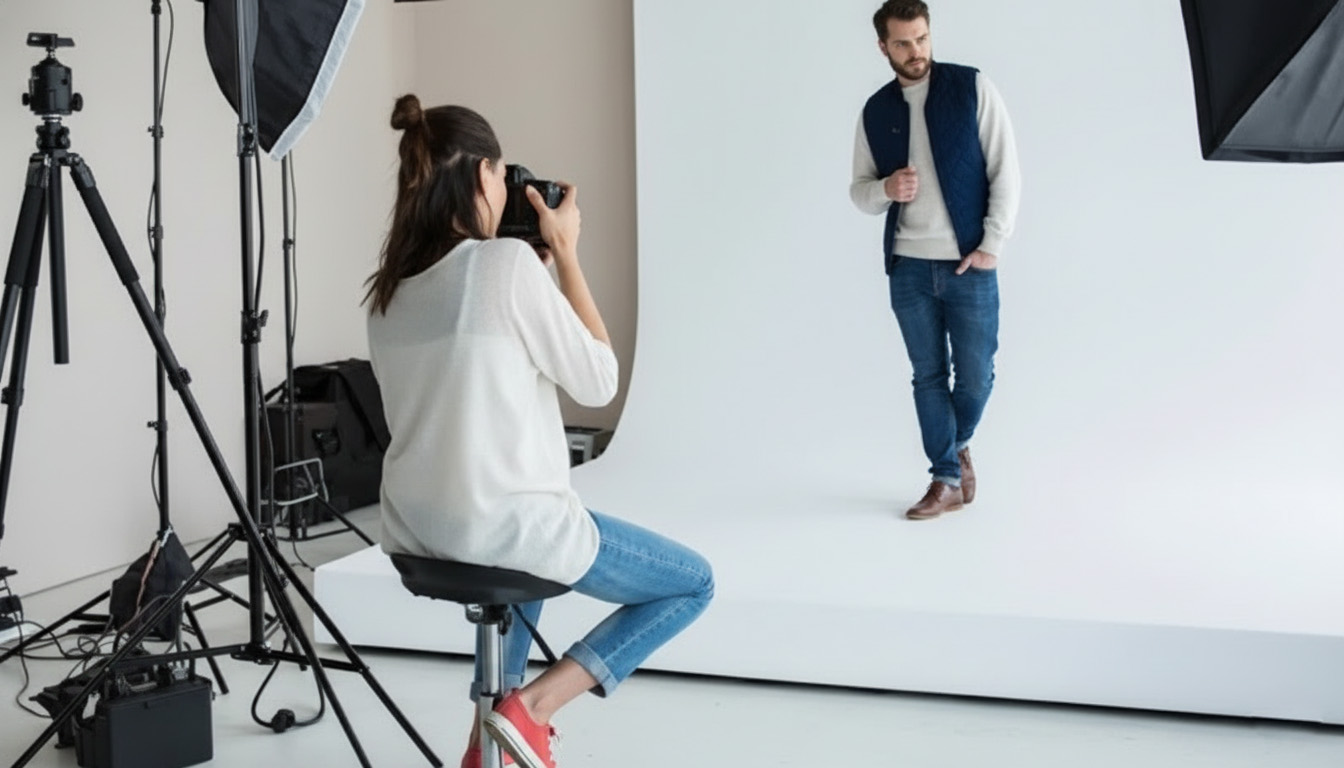
Setup Lighting Equipment

Lighting plays a pivotal role in photography and is essential for achieving commercial-quality results. It not only reveals a product’s appearance, functionality, and scale but also helps convey the intended message of the image. Ensure your setup is well-lit, allowing for ample and balanced light to enhance every detail.
You already know, there are 2 types of light sources-
- Natural light
- Artificial light.
Natural light
Sunlight is the most accessible and cost-effective lighting source available. When used wisely avoiding times of harsh midday light it can produce beautifully natural results throughout much of the day.
However,the only problem is, this light is not constant after dark,and you can’t work at night. In case of this the 2nd option steps in.
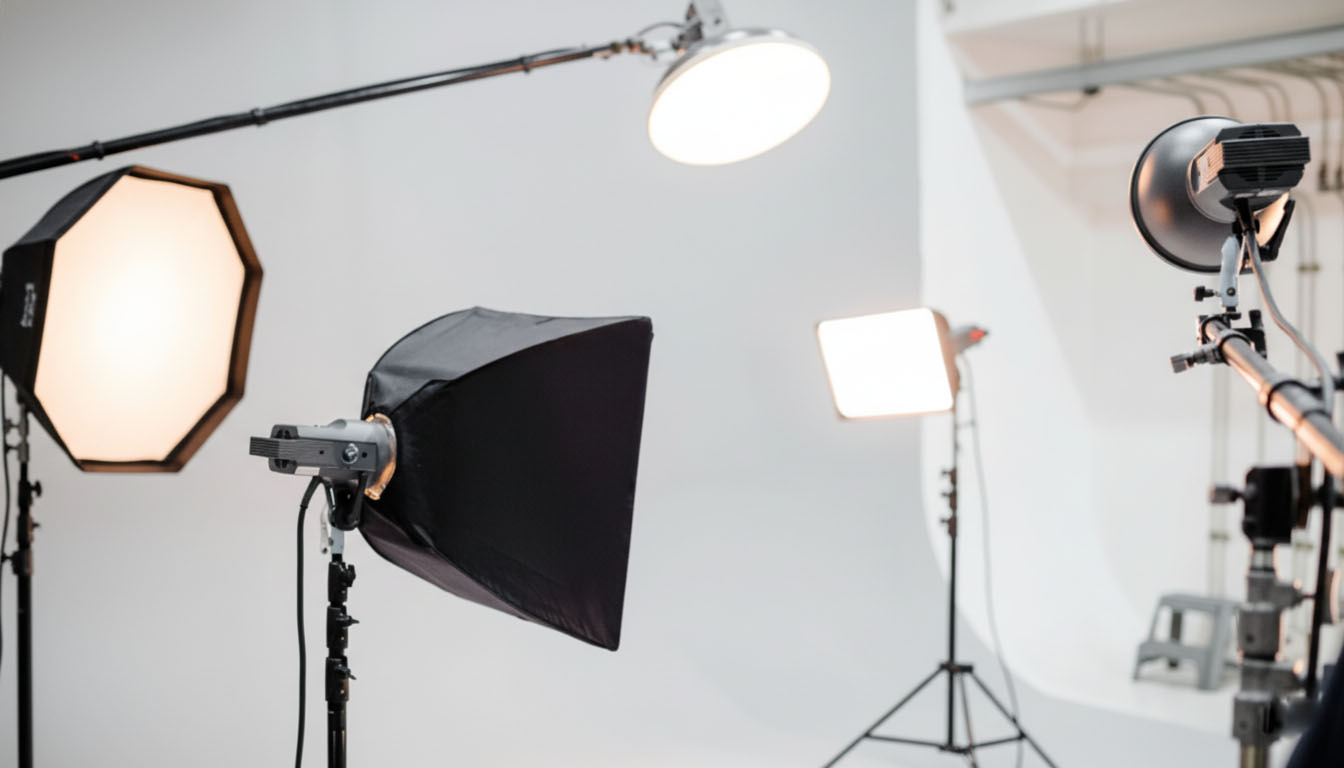
Artificial Light
Product photography relies on the right studio lighting. Here are key tools professionals use to shape and control light:
Strobe Lights: Intense, quick flashes for crisp detail.
Fluorescent Lights: Wide, soft coverage for even lighting.
LED Lights: Steady, versatile light for photo and video.
Softboxes: Diffuse light in square, rectangular, or octagonal shapes.
Modifiers: Umbrellas and diffusers to fine-tune light control.
Reflectors: Bounce light to soften shadows and highlight details.
Post-Production Processing
After capturing and organizing your product images, post-production is where your visuals truly come to life. Outsourcing this step—using services like Grasigner can save time and deliver professional results fast, often within 24 hours.
For tighter budgets, DIY editing is still effective. With the right tools and smart workflows, you can streamline the process and produce high-quality, polished images on your own.
How to make your studio brighter?
Here’s how to use the three-point lighting technique.
This method involves illuminating the subject from three distinct angles: key light, fill light, and back light to ensure even exposure and reduce harsh shadows.
Commercial photography uses this to achieve clean, professional results.
1. Key Light
The key light serves as the primary source of illumination, capable of lighting the main subject on its own. It defines the focal point, providing continuous brightness, while other lights support it and create a balanced, even look.
2. Fill Light
The fill light complements the key light by softening shadows and illuminating areas the key light doesn’t reach. While it shares a similar tone, it should be slightly less intense to preserve natural depth and maintain a realistic appearance.
3. Back Light
The backlight is also called rim/hair light. It helps separate larger subjects from the background, ensuring the rear is lit and not left in shadow.
Use Tabletop Photo Studio Kit
For medium or small product photoshoots, tabletop kits offer an efficient and space-saving solution. A compact setup is sufficient to capture high-quality images, with products placed on a flat surface and the lighting arranged overhead. This streamlined approach ensures effective lighting without requiring extensive space.
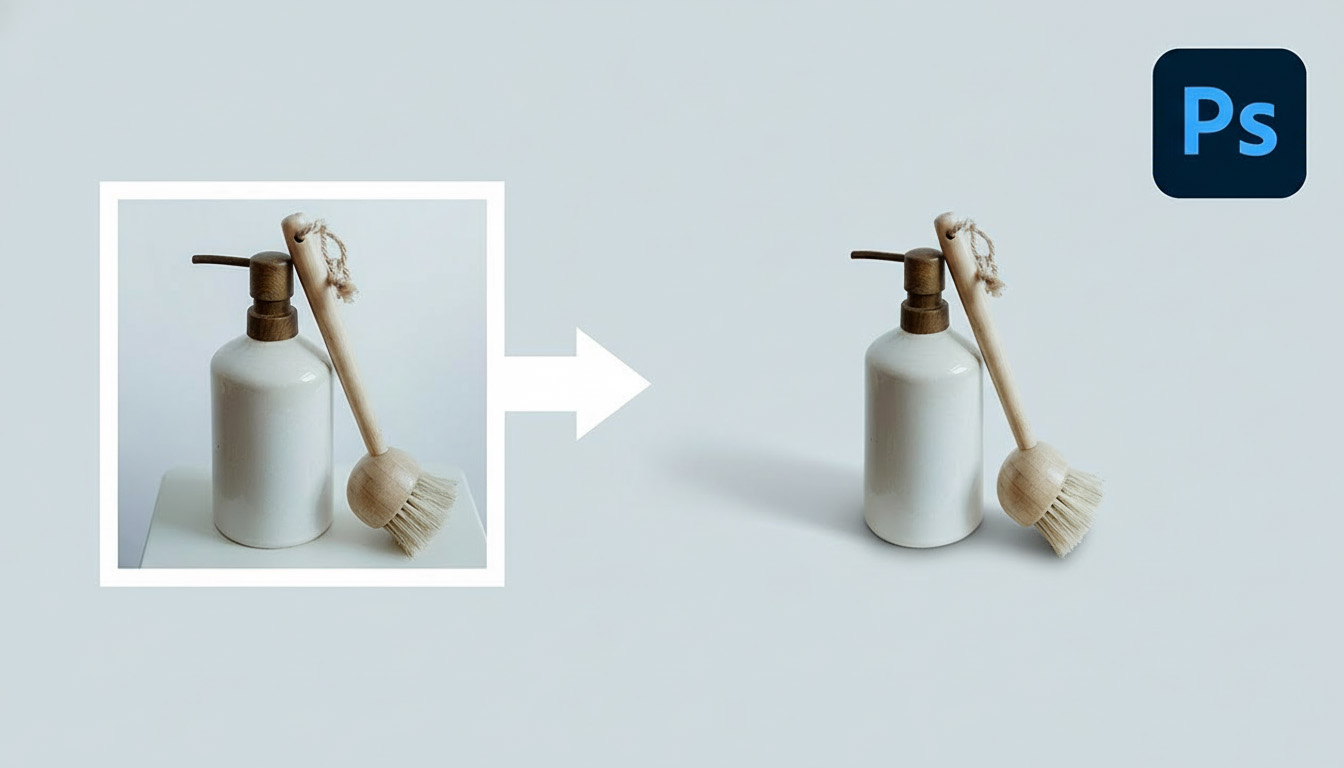
Choose Your Post-Production Processing Software
Unless your clients directly ask for it, you won’t send the raw. Even minor adjustments with photo editing software can significantly enhance the overall appearance of an image. Some photographers specialize in mastering tools like Photoshop to achieve professional results.
If you prefer to handle the editing yourself, consider using industry-standard software like Adobe Lightroom for efficient processing. However, while this may seem like a cost-effective solution at first, it can quickly become burdensome for photographers with a full schedule.
To save time and reduce the workload, many photographers opt to outsource photo editing tasks, including professional Photoshop services, allowing them to focus on core photography work.
For premium-quality, creative images, we also recommend partnering with a reputable clipping path service provider to ensure flawless results.
Practice, Fine-Tune, and Outsource
With your skills honed and studio prepared, the next step is to promote your work effectively and attract your ideal clients. While waiting for them to reach out, continue practicing and refining your craft to ensure you’re fully prepared when the real work begins even if it makes you feel nervous. As you practice, your skills will naturally evolve.
Also, adapt and refine your processes to scale your business. Prioritize your clients’ needs and deliver results that exceed their expectations, particularly through post-production. If you don’t have a dedicated post-production team, outsourcing eCommerce image editing services can prevent future complications and streamline the process.
Post-production is the second phase of photography, requiring a unique mindset, careful planning, and precise execution. Rushing through this stage can quickly undo all your hard work, as photo editing demands meticulous attention to detail. This is one reason why many large companies choose to outsource their eCommerce photography needs altogether.
Final Word
Improving your company’s productivity is a complex task, which is why many large fast-fashion retailers outsource much of their operations. If you’re handling everything on your own until your budget allows for expansion, refining your workflow is crucial for increasing efficiency.
The average fashion retailer spends approximately two weeks preparing products for online sales, and with the right strategies, you can reach that level of productivity as well.
By optimizing your processes from organization and preparation to test shooting, actual shoots, and post-production you’ll not only save time but also reduce costs in both the short and long term.
Remember, success is a continuous cycle of learning, doing, and fine-tuning. With practice, your skills will improve, and your team will grow alongside your business. As you refine your approach, you’ll become more efficient and accelerate your rise to success.
Related Posts
How to Get Photography Clients for Your Ecommerce Business in 2025
People naturally prefer visuals over text; it's faster, clearer, and…
How to Improve Your Product Photography and Create Images That Sell
How to Improve Your Product Photography? [caption id="attachment_18013" align="alignnone" width="1344"]…