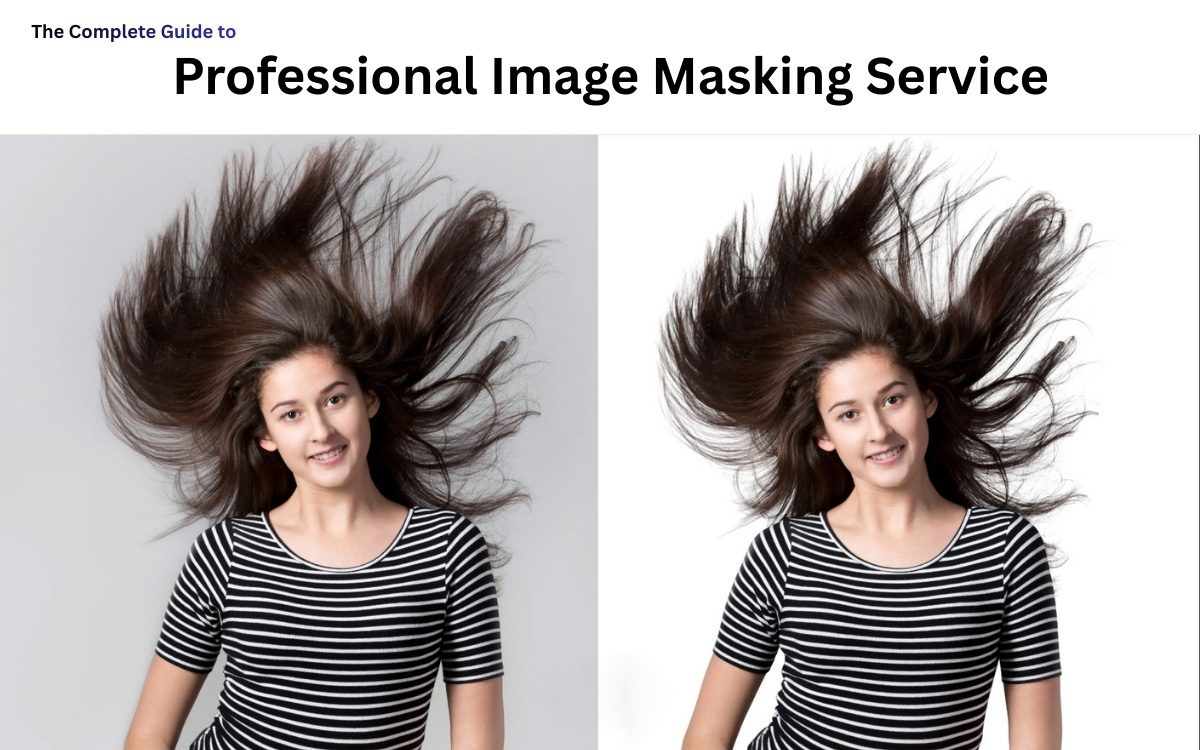
In today’s digital marketplace, visuals play a huge role in product presentation, brand reputation, and customer trust. One of the most effective techniques in photo editing for ensuring clean, professional, and appealing visuals is image masking. Whether you run an eCommerce store, manage a brand, or offer photography services, mastering image masking can make all the difference in how your products and services are perceived online.
This blog will give you a complete guide on image masking, its types, benefits, and why outsourcing to the best image masking service provider can save time and money while improving quality.
What is Image Masking Service?
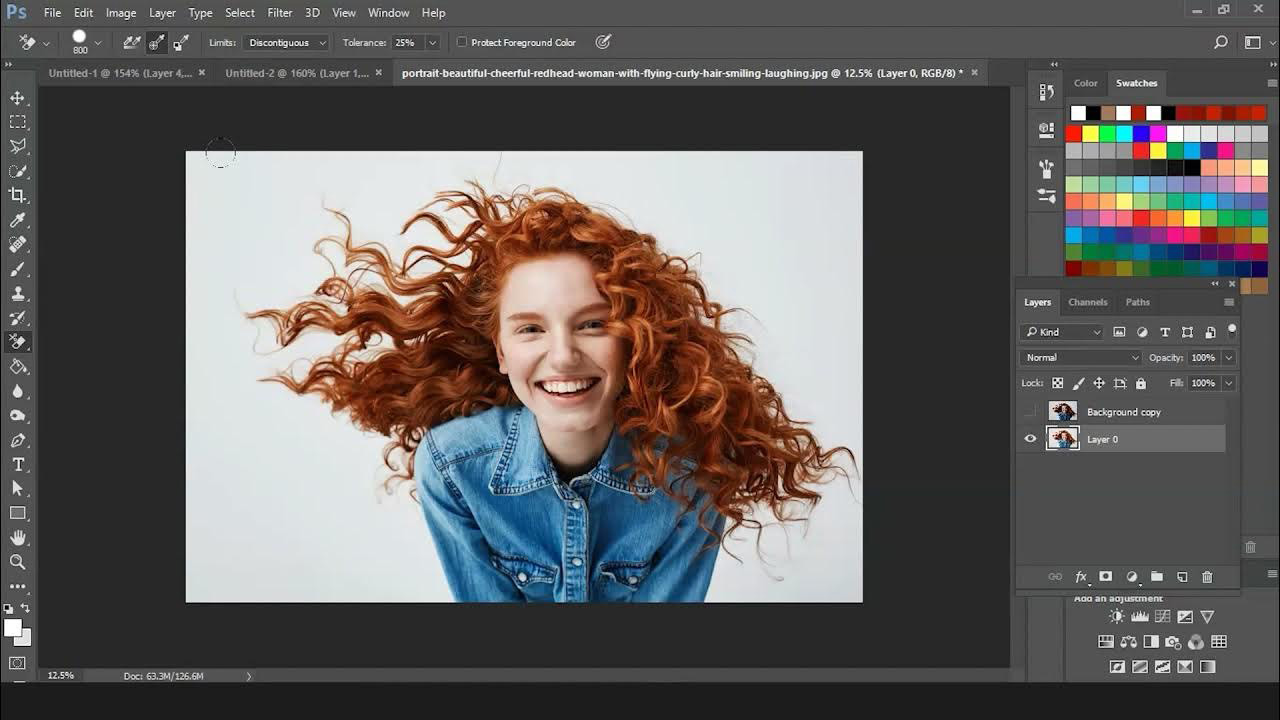
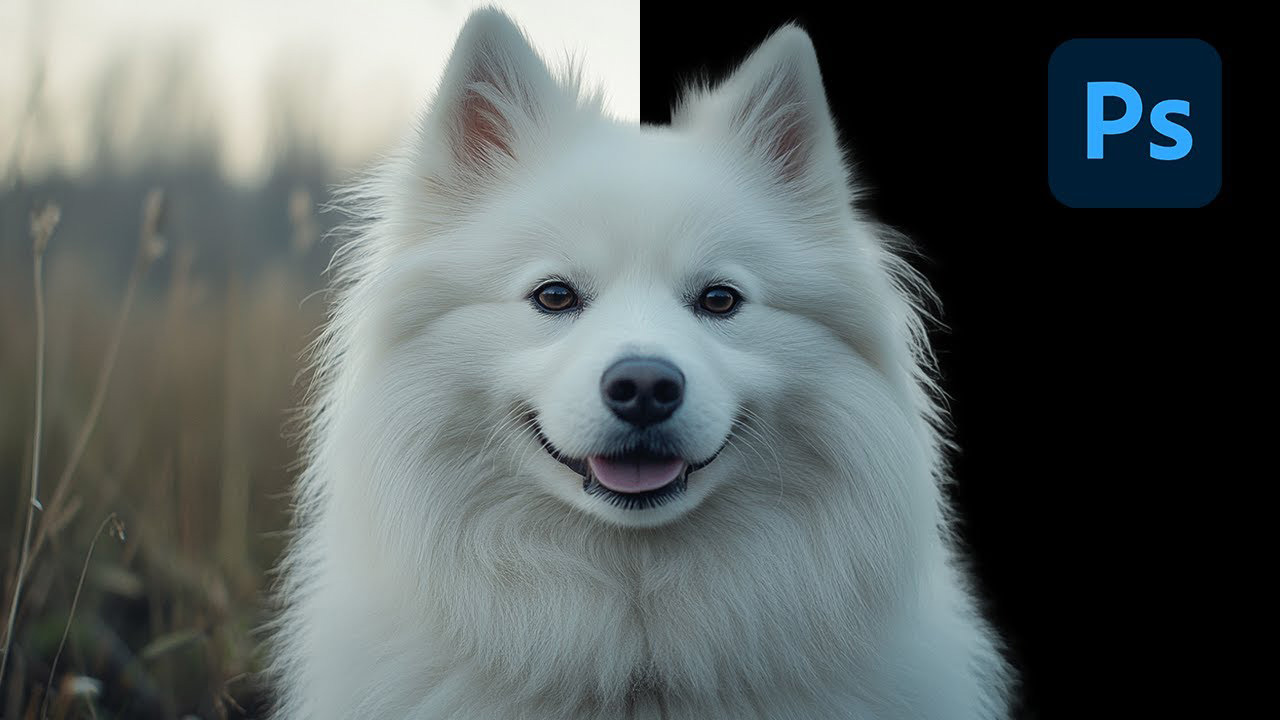
Image masking is a photo-editing process that allows editors to separate an image’s subject from its background. Unlike simple background removal methods like clipping path, image masking works with complex images, such as hair, fur, feathers, glass, or transparent objects, where fine details matter.
For example, when editing a model photo where hair strands are visible, a basic clipping path won’t look natural. In such cases, the Photoshop image masking service ensures that every small detail, such as loose hair, is carefully separated from the background, resulting in a polished, realistic look.
Why is Image Masking Important?
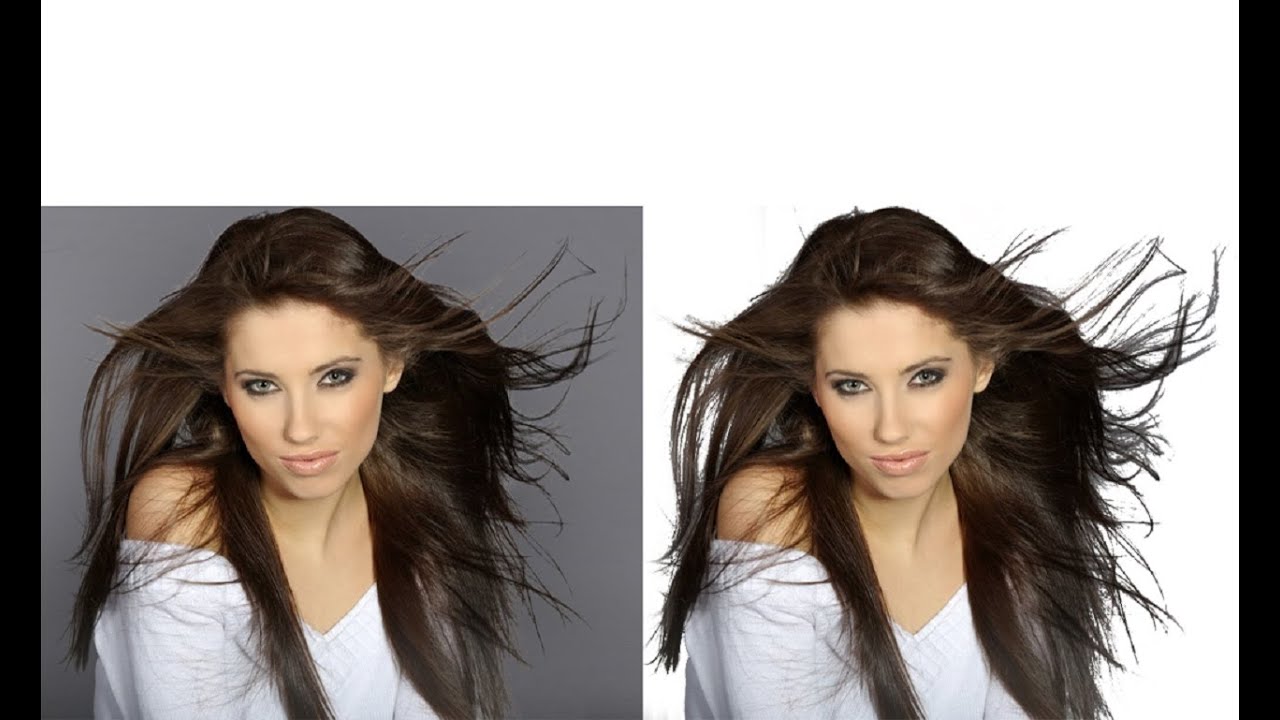
Image masking plays a vital role for businesses, photographers, and designers who need precision in editing. Here’s why it matters:
- Better Product Presentation – Clean and professional images attract more customers.
- Handles Complex Images – Perfect for hair, fur, or transparent items that clipping paths can’t manage.
- Improves Branding – High-quality visuals reflect professionalism.
- Consistency Across Platforms – Maintains a uniform background for eCommerce and marketing.
- Saves Time – Especially when outsourced to experts in image masking services.
Types of Image Masking Techniques
There are several types of masking services, each designed for specific needs. Let’s look at the most common methods used by professionals:
1. Layer Masking
Layer masking is widely used in the Photoshop image masking service. It allows editors to hide or reveal parts of an image without permanently deleting anything. This method is ideal for adjusting transparency and refining edges.
How to Use Layer Masks
- Create a New Layer: Open your image in photo editing software and add a new layer where the mask will be applied.
- Add a Layer Mask: Select the target layer, then click Add Layer Mask in the Layers panel (in Photoshop).
- Edit the Mask: Use the brush tool to paint on the mask. Black hides areas, white reveals them, and gray creates partial transparency for smooth blending.
Tips for Effective Layer Masking
- Use soft brushes to create smooth transitions and hard brushes for clean, sharp edges.
- Adjust brush opacity and flow to gain better control over blending and details.
- Refine edges with Photoshop’s Select and Mask feature to achieve cleaner, more professional results.
2. Clipping Masks
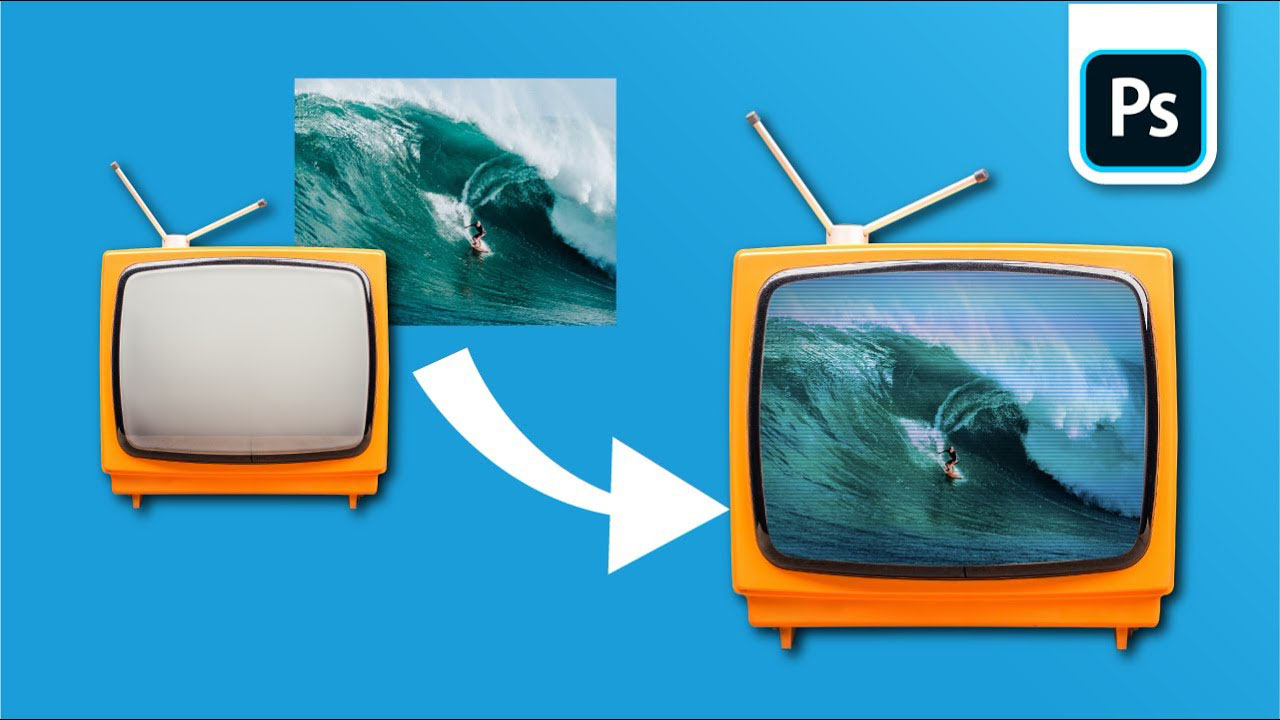
Clipping masks let you apply edits, adjustments, or effects to a specific part of an image using the shape and content of another layer, ensuring precise, controlled editing.
How to Use Clipping Masks
- Create a Shape Layer: Add a new layer with the shape that will act as the mask.
- Add the Target Layer: Place the layer you want to edit directly above the shape layer.
- Apply the Clipping Mask: Right-click the top layer and choose Create Clipping Mask. The content will appear only within the shape below.
Common Uses of Clipping Masks
- Text Effects: Insert images, patterns, or textures inside text for creative designs.
- Shape-Based Edits: Apply color, lighting, or texture adjustments to specific areas defined by a shape layer.
3. Alpha Channel Masking
Alpha channel masking is used when dealing with images that have complex backgrounds. This technique focuses on extracting fine details, such as hair or fur, and ensures smooth transitions between the subject and the background.
How to Use Alpha Channel Masking
- Create an Alpha Channel: Open the Channels panel and add a new alpha channel to your image.
- Define the Mask Area: Paint the areas you want to keep white and the areas you want to remove black to create a clear separation.
- Apply the Alpha Mask: Load the alpha channel as a selection, then apply it as a mask to isolate the desired area for clean, professional results.
Common Uses of Alpha Channel Masking
- Complex Background Removal: Isolate fine details like hair, fabric edges, or transparent objects.
- Precise Product Editing: Create clean cutouts for apparel, jewelry, and eCommerce product images.
- Advanced Image Compositing: Blend multiple images smoothly with accurate transparency control.
4. Transparency Masking
Transparency masking is applied to objects such as glass, plastic, water, and lenses to preserve transparency effects. It helps in maintaining the natural look of semi-transparent objects.
How to Use Transparency Masking
- Create a Transparency Mask: Add a mask to the image layer where transparency control is needed.
- Define Transparent Areas: Paint with black to hide areas, white to reveal them, and gray for partial transparency.
- Apply and Refine the Mask: Adjust the mask edges and opacity to achieve smooth, natural transitions and professional results.
Common Uses of Transparency Masking
- Soft Background Blending: Create smooth transitions between subjects and backgrounds.
- Product Image Editing: Remove or fade backgrounds for clean, eCommerce-ready photos.
- Layered Compositing: Combine multiple images seamlessly with controlled transparency.
5. Collage Masking
Collage masking is useful when creating product catalogs or promotional materials that combine multiple images. It ensures the smooth integration of different images into a single composition.
How to Use Collage Masking
- Create a Base Layer: Open your image and add a new layer that will serve as the base for the collage.
- Add Images to the Collage: Place the images you want to include directly above the base layer.
- Apply the Collage Mask: Use a mask on each image layer to blend them smoothly into the base, adjusting edges and transparency for a cohesive look.
Common Uses of Collage Masking
- Creative Artwork: Combine multiple photos into a single, visually appealing design.
- Marketing Materials: Create promotional visuals or social media graphics with layered images.
- Product Showcases: Display multiple product angles or styles in one clean, professional image.
6. Fur and Hair Masking
As the name suggests, this method is essential for editing models, pets, or any subject that involves fine hair strands. It ensures natural-looking results, which is crucial in fashion, eCommerce, and advertising.
How to Use Fur and Hair Masking
- Create a Mask Layer: Open your image and add a mask to the layer containing the subject.
- Select Fine Details: Use specialized brushes or tools to carefully select fur, hair, or other intricate edges.
- Refine the Mask: Adjust opacity, edge softness, and feathering to achieve a natural, realistic look.
Common Uses of Fur and Hair Masking
- Pet Photography: Isolate animals with detailed fur for clean, professional images.
- Fashion and Apparel: Accurately mask hair or fur-trimmed garments for eCommerce catalogs.
- Creative Compositing: Blend subjects with complex edges into new backgrounds seamlessly.
7. Face Mask Transparent
Our face mask transparent design offers clear visibility while ensuring safety and comfort. Lightweight, reusable, and perfect for daily use or work.
How to Use Face Mask Transparent
- Create a Mask Layer: Open your image and add a transparent mask to the face or desired area.
- Define the Area: Use brushes to reveal the parts of the face to keep visible and hide unwanted sections.
- Refine the Mask: Adjust edges, opacity, and feathering for a smooth, natural look.
Common Uses of Face Mask Transparent
- Portrait Editing: Enhance or retouch facial features while keeping the rest of the image intact.
- Cosmetic and Skincare Ads: Highlight facial details for promotional or eCommerce visuals.
- Professional Compositing: Blend faces seamlessly into different backgrounds or designs.
Benefits of Using Professional Image Masking Services
Businesses often ask why they should invest in professional editing instead of doing it themselves. Here are the top benefits:
- High Precision – Experts ensure that even the smallest details are handled with care.
- Saves Time – Outsourcing to an image masking service provider means you can focus on your core business.
- Cost-Effective – With outsource image masking services, you avoid investing in expensive software and training.
- Improved Sales – Clear and attractive product images lead to higher conversion rates.
- Consistency – Professional editors deliver uniform results across hundreds of product images.
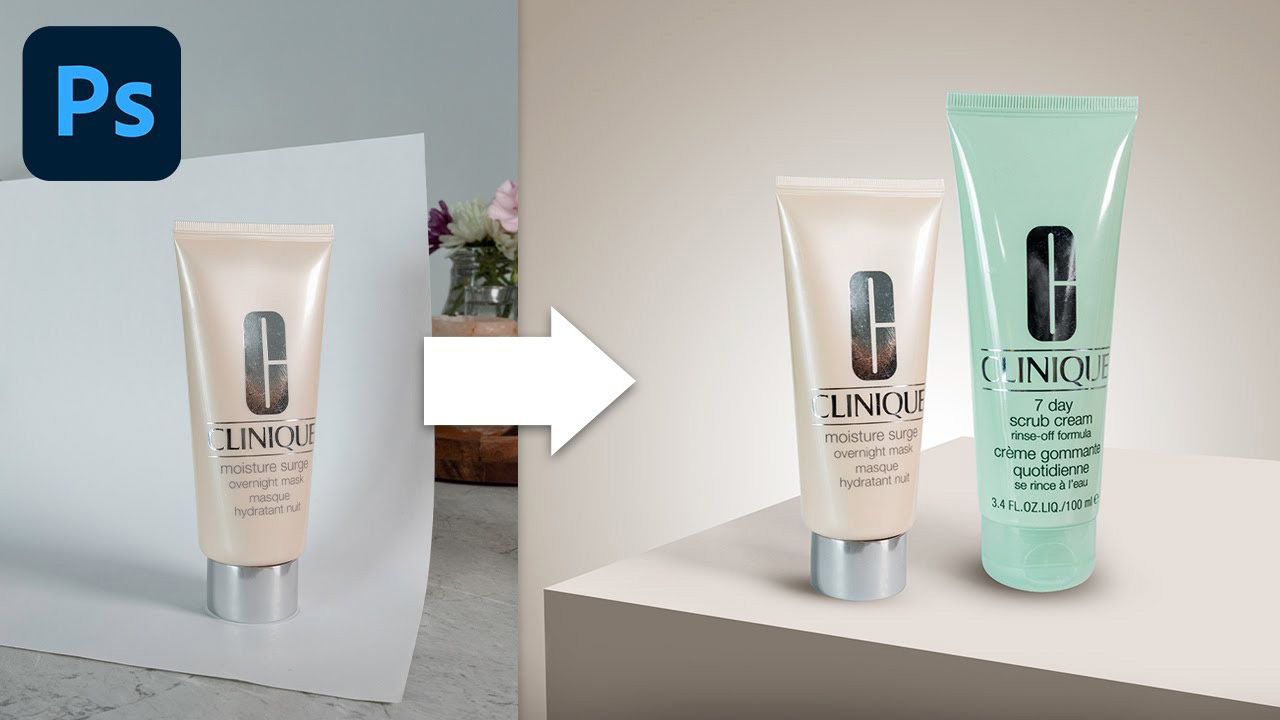
Image Masking in eCommerce
If you are in the eCommerce business, you already know that product images are everything. Customers cannot touch or feel the product, so they rely entirely on visuals to make purchasing decisions.
Using image masking online ensures your product images are clean, detailed, and professional. Whether it’s clothing, jewelry, electronics, or furniture, masking helps create sharp visuals that appeal to customers.
For example:
- A clothing retailer can display clear product images with fine fabric details.
- A jewelry brand can show transparent gemstones without distortion.
- A furniture store can maintain consistency by displaying products with the same background style.
Outsourcing Image Masking Services
While you can do image masking in-house, it requires expertise, time, and costly software. That’s why many companies prefer outsource image masking services to professional providers. Here are some reasons why outsourcing is the smart choice:
- Access to Experts – Professional editors with years of experience.
- Time Savings – Get bulk images edited quickly without compromising quality.
- Scalability – Handle thousands of images with consistent results.
- Affordable Packages – Most providers offer flexible pricing plans.
Outsourcing helps businesses, especially eCommerce stores, maintain quality without overburdening their in-house teams.
Choosing the Best Image Masking Service Provider
Selecting the right partner for your editing needs is crucial. Here’s what to look for in the best image masking service provider:
- Experience and Portfolio – Check their past work and expertise in handling complex projects.
- Turnaround Time – A good provider delivers work on time, especially for bulk editing.
- Quality Assurance – Consistency and accuracy should be guaranteed.
- Customer Support – Prompt and professional communication is essential.
- Affordability – Look for competitive pricing without compromising quality.
By choosing the right provider, you can build a long-term partnership that supports your growth.
Basic Image Masking Service vs. Advanced Service
Not all projects require advanced masking. For simple edits, a basic image masking service may be enough. This involves simple background removal for objects without complex edges. However, for detailed images, such as models with flowing hair or transparent objects, advanced masking techniques are necessary.
Knowing when to use basic versus advanced services helps businesses manage costs and maintain efficiency.
Why Photoshop is the Best Tool for Image Masking
While many editing tools exist, the Photoshop image masking service remains the industry standard. Photoshop offers flexibility, advanced features, and precision unmatched by most other tools. Professional editors prefer Photoshop because:
- It supports multiple masking techniques.
- It delivers high-quality results.
- It ensures non-destructive editing.
- It works well with large volumes of images.
This is why most image masking service providers rely on Photoshop for delivering top-quality results.
Image masking is more than just background removal—it’s about creating visuals that are clean, professional, and attractive to customers. Whether you work in fashion, eCommerce, advertising, or photography, using a reliable image masking service is essential to stand out in a competitive market.
From basic image masking service to advanced Photoshop masking, the right technique ensures your images look natural and polished. And with the option to outsource image masking services, businesses can save time, reduce costs, and achieve consistent quality.
Practical Tips for Mastering Hair Masking Technique
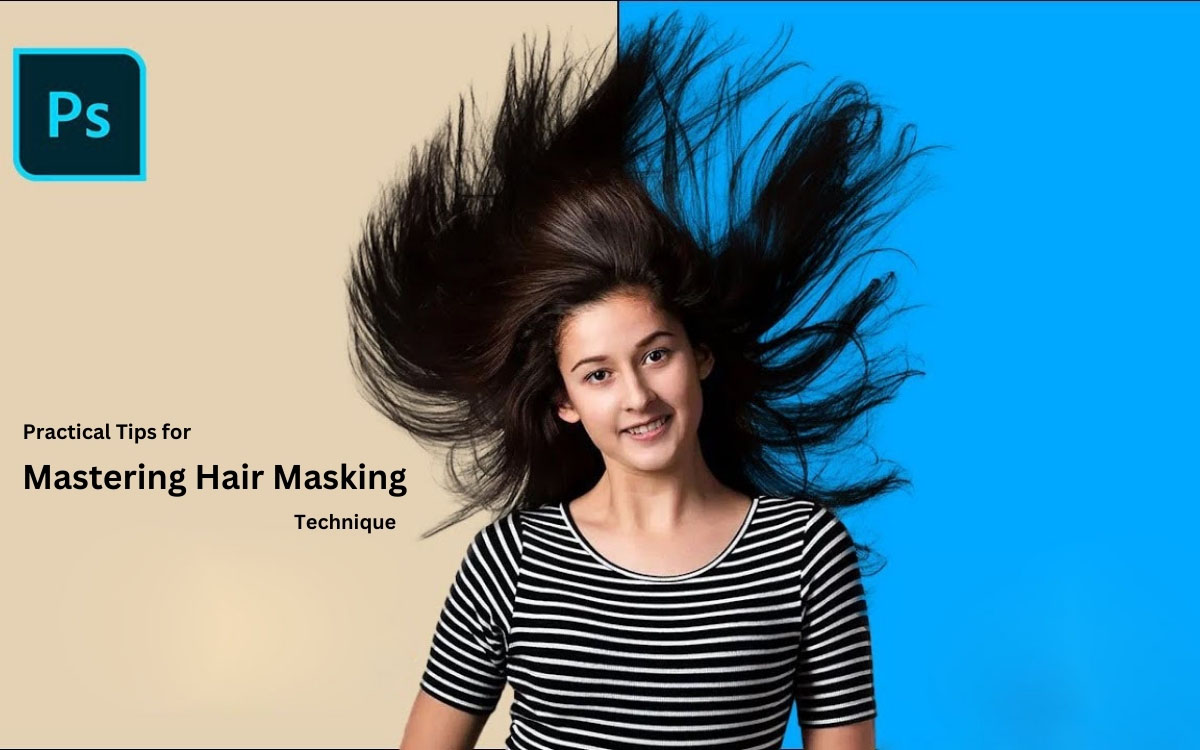
- Practice Regularly: Consistent practice improves your masking skills. Work with different images and scenarios to gain confidence and precision.
- Use Keyboard Shortcuts: Learn shortcuts to speed up your workflow. For example, use Ctrl+I (Cmd+I on Mac) to invert a mask and Alt+Click (Option+Click) to view the mask alone.
- Stay Organized: Name layers and masks clearly, and use groups to manage related elements efficiently for a cleaner workspace.
- Leverage Tutorials and Resources: Use online tutorials and guides that provide step-by-step instructions and advanced tips to achieve professional masking results.
Final Thought
If you are looking for the best image masking service provider, choose one with proven expertise, a strong portfolio, and affordable pricing. By investing in professional image masking services, you can enhance your brand image, boost sales, and stay ahead of your competitors.
High-quality images build trust, and trust builds sales. Don’t compromise on visuals—partner with experts who can deliver professional image masking services that elevate your brand.
Related Posts
Outsourcing Your E-commerce Photo Editing? Here’s How to Find the Best Option
What is Outsourced Photo Editing? Imagine this - your online…
Why is photo retouching important for ecommerce products? Complete Guide
The best e-commerce brands worldwide have one thing in common…